tisdag 20 september 2016

Box tutorial

Idag tänkte jag försöka mig på en tutorial på hur jag gör den här lilla lådan. 


Om det är något som ni inte förstår eller som verkar konstigt så hör jättegärna av er till mig så att jag kan förklara bättre. Ibland låter ju tankarna i huvudet lite bättre än när man får dom nerskrivna. 

Den delen som har ett X på sig betyder att man ska skära bort och alltså inte behöver. Det kommer att vara så på alla ritningarna då jag utgått från en fyrkant för att det ska bli lite lättare.

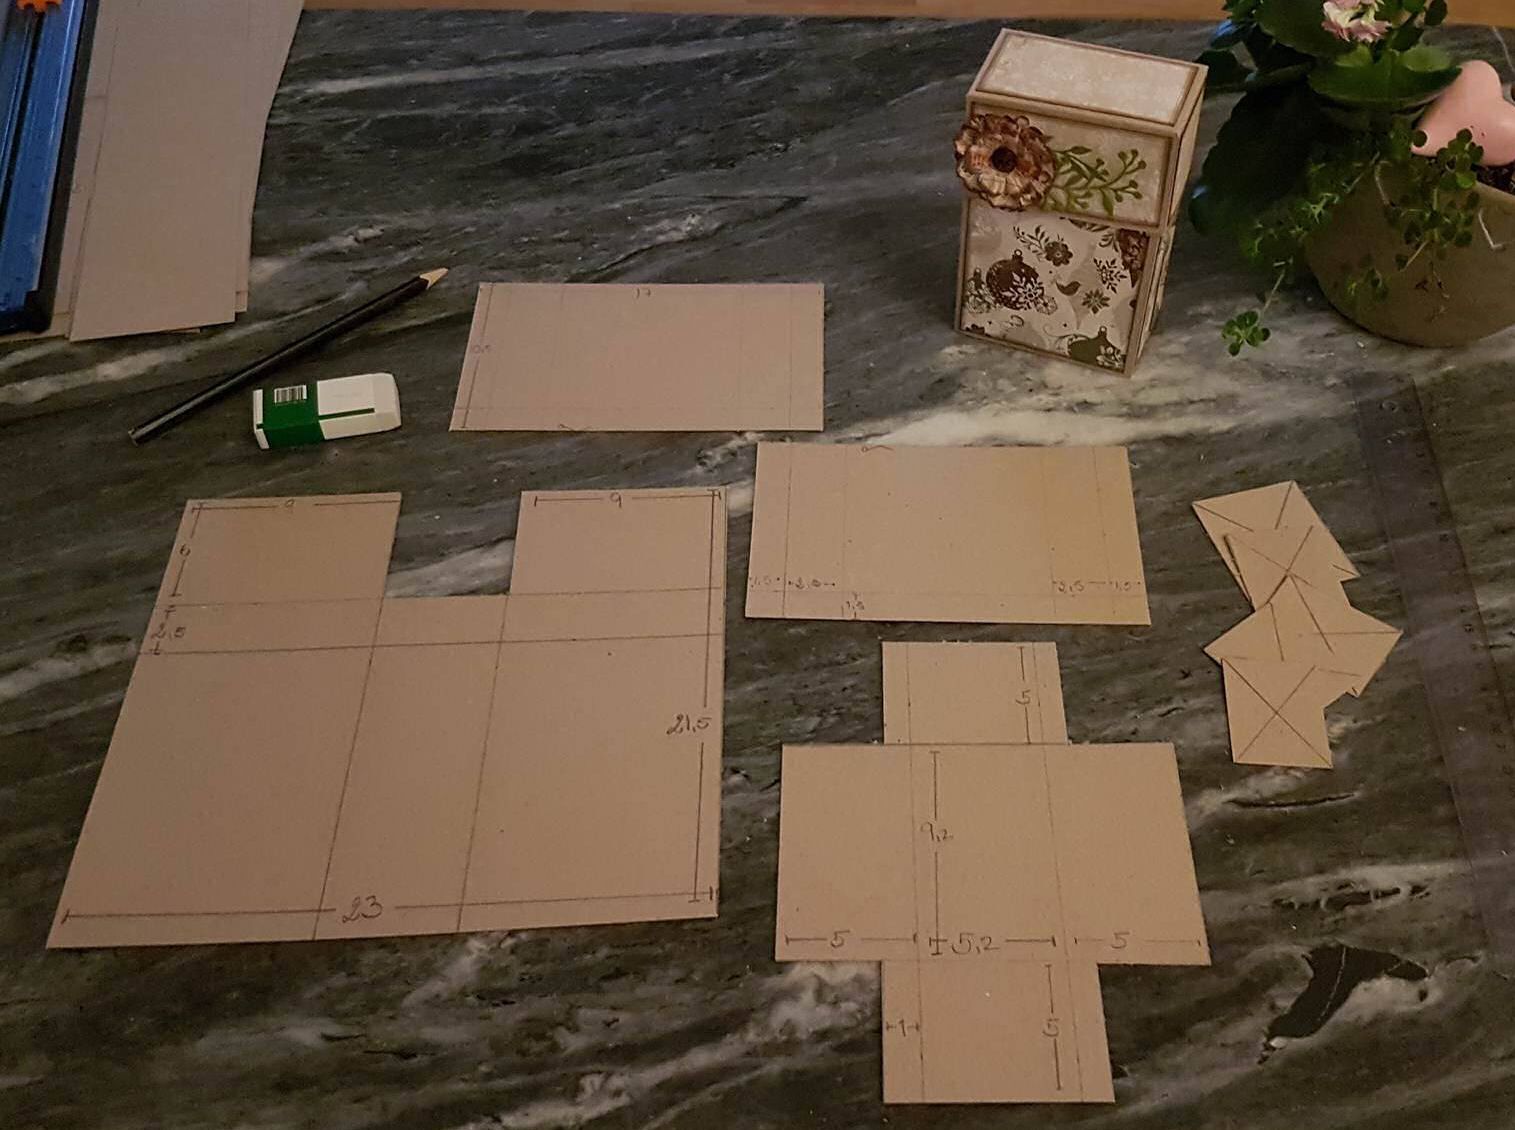
Till denna lådan har jag använt tre cardstock då lådan består av fyra delar. För själva huvuddelen behöver du en bit som har dessa måtten. 


Jag missade ju att göra X på rutan under också men den ska också bort så det ska vara såhär.


Den andra delen är själva lådan som sitter fast på huvud delen och då behöver du två bitar med dessa måtten. Det kanske ser lite krångligt ut men utgångsrektangeln är 17 X 13 cm. Kanske blir lättare om ni utgår från de måtten.


På de strecken där det är zig zag mönster klipper man. Observera att på denna bilden är X borta men de delarna ska ändå klippas bort såklart.


Nu ska du ha en bit som ser ut såhär och där det är ifyllt ska det tejpas eller limmas. 


Till själva locket behöver du en bit med dessa mått. Alla X ska klippas bort. På toppen ska det självklart också vara 1 cm in.


Dessa linjer ska klippas upp. 


Nu ska du ha fyra delar och här syns även en annan box jag gjort.


Bigga nu alla linjer som du har kvar så att det går lätt att vika ihop asken.

Här är de delar på locket som ska tejpas eller limmas. Sedan är det bara till att vika ihop den och så är locket färdigt. Vik in dom korta sidorna under de långa.


Såhär ser lådan ut med de områden som ska limmas eller tejpas för själva innerlådorna. Vik sedan ihop den. Börja med att vika in de små fyrkanterna i botten på höger och vänster sida mot mitten delen. Ta sedan bort tejpen på långsidorna.


Såhär ska den se ut när du har satt ihop botten på den.


Nu ska de två lådorna tejpas fast på huvudbiten och det är viktigt att man håller sig inom biggningen för annars kan den gärna bli lite för stor när man sedan ska stänga den.

Nu ska du ha en bit som ser ut såhär.


 Vik ner inner locken och sätt på ytter locket och din ask är klar och färdig att dekoreras.


Jag har valt att ha en cirkel som stopp för själva locket inuti asken.


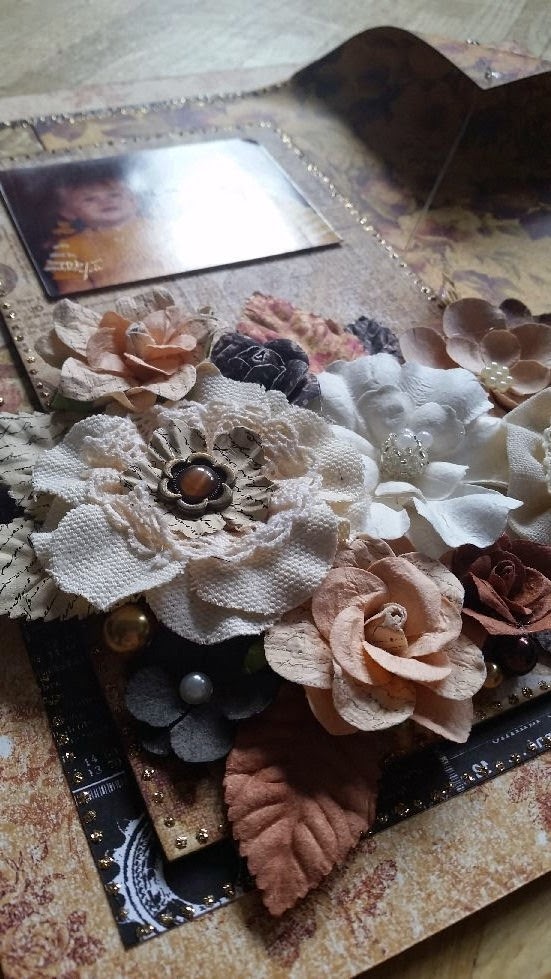
Jag hoppas att ni förstod min tutorial och att ni vill testa att göra en sådan här ask för dom är riktigt roliga att göra. Tänk bara på att man kan inte dekorera inner sidorna för mycket då den kommer bli för tjock när den stängs i så fall. I fickorna kan man bland annat ha lite kort, göra några små mini album eller vad man nu vill fylla den med.

Lycka till.  :)


lördag 2 juli 2016

Layout with Frak Garcia

O..M..G...

I must say I feel so so happy about my project that turned out so good. I really love it and I want to make more hehe.

It started with me watching a video on YouTube of this guy, Frank Garcia, doing this and I really liked it and wanted to do the same. So I ordered the items that I needed and then it was just to start.


I have never used that much from Prima Marketing before but I must say that I´m starting to fall in love with it.


These pearls are just lovely and I like it that they are in difference sizes and colours.
So this is basicly all that I needed to start my project.


The twist with curling the paper is something that I never would have thought of by my self and it was so easy to do. I just need to put more tejp under it because I noticed that it separated a bit. 


This is the finished layout with all the papers. Now for the fun part, to decorate it all and making it look really pretty. 


I added the pearls and used A LOT of glue so there is no chance for them to fall off.


And then some flowers. I´m not that used to using flowers but I think it turned out really good. I like the combination of mixing different styles of flowers.


Just a close up on the flowers. I just put them here and there and added some leafs to it. I also used some glitter glue around the edges to give it a bit of sparkle.


I hade a really hard time to chose wich picture I wanted to use. Was I gona use a picture of me? Of one of the kids but then wich kid? So I started to look throuh my pictures and I found this old one of me and my sister. It was the right size and it had the right colours for my layout so I picked this one. And I love my sister so having both her and me on this picture is nice because it is because of her I started crafting. 


And this is how it turned. I really love the finished look of it and it will be so much fun to put it on my wall.


I hope you got some inspiration to do some crafting and let me know what you think of it.

My sister also have a blogg and she makes this lovely cute cards. You can find her here

Happy crafting all. :)


Some updates

Hello everyone.

It´s about time I´m making some updates to my blog. It was a long time since I posted anything at all here so here is some of the things I have been making latley.

If you have followed my blog for some time you know that I have been on the Design Team for Je scrap och Hobby and I thought I would show you some of the things I have made for them.


 For this mini album I also made a video to show all the pages in it and if you´r interested of seeing it, you can find it here. 


If you want to se more of what I made for them you can just press here and you will come to their blogg with all my posts. 

Anyway, I did quit on the design team, or rather say they did let me go, and that gave me the opirtunitu to be a guest DT at Idas Magasin. I have just started my mission there and it will last over the summer. After that I´m not sure what will happen. Maybe they want me to stay or maybe I will get another DT assigment. Time will tell. :)

So with all this said I will go and do some more crafting before it´s time go to bed and I wish you all happy crafting and just ask me if there is anything.


onsdag 28 oktober 2015

Happy Halloween

FINALY I have some uppdate to my blogg. I know it was a long time since I did anything and posted it here but time isn´t always on my side.

Well, today I will show you this mask I did for halloween. It was white and borring from the begining so I wanted to give it another look.
I think masks like this is perfekt if you´r going to a halloween party and don´t want to use a lot of makeup or spend a lot of money buying a costume.


Here is the statch I started with. I just some things I hade at home and I bought some things, like the pearls. As you can see I have already colored my mask black.


I added some rhinestones in the midle of my mask and I chose just to have the bling bling around one eye to give it a bit more of dramatic effect. Stickles is a glitter glue that is so easy to use .


Here is the finished resault of my mask. I added some feathers on top and a flower on the sid. This mask is suposed to be attatched to my head with a band in the back but I just cut it of and used a long stick insteed. Of course I decorated it a bit also.

I wish you all a Happy Halloween and don´t eat to much candy.

And as always, please leave me a comment and let me know what you think of it. 


söndag 19 juli 2015

Small giftbox

Gift box


A while ago I bought this die that is used for making a small box. I havn´t tryed it before so I thought it was time to give it a go. I really didn´t have any idea of how big the box was going to be or how I should make it but that´s the fun part about crafting, :)

Anyway. It´s nothing special about the inside of the box really so I just made it in pink cardstock. The outside I wanted to make it in a steampunk theme because that is the theme I like the best. So after cuting it out I took some cogwheels on it and some pipes.


I cover it all up with alumium tejp and painted it with black acrylic and then just whiped of the extra colour. I´m sorry about the quality about the light but it was dark and hard to make it good with the flash. As you can see I just decorated the sides and the top part of the box and I also put in some screws and a small flower.
When everything had dryed up I glued it together and it was done. 


I hope you liked it and that you got some inspiration from it. And as always, it´s always fun to read you comments.

Happy crafting.