

If you have been on my blogg before you have seen that I´m giving my IKEA storage a makeover. Here is another pice that I got done and this time I thought I would show you more exacly how I´m doing it.
So it´s more pictures and a bit more text to every picture.
As usual, if there is anything you want to know or if it is anything that you that you don´t understand, just send me a message or an e-mail.

This is what I started with. I messured my IKEA box to get the right size of my paper. The alumium tejp I cut into smaller pices because I want them to go a bit over eachother.

When I got all the things I need I´m starting to put them out on my paper and trying to find a layout that I like. I use some glue to make them stick to it after I´m happy with my arrangment.

Now it´s time to start tejping. As you can see I let my tejp pices go over eachother becaue I like the effect they give. Don´t worry about getting tejp outside of your paper because that you can easy cut away after you´r done.

When all of my paper is coverd in tejp I use a siccor to trim the edges. I also make some lines and dots on my tejp. Here I also go arond every edge on my decorations I have under my tejp.


.jpg)
Just some pictures to show you how it looks like after all the tejping and outlining the edges.

When you´r feeling that you´r done you use some steel wool and just go over your work to get it a bit more rough and some texture in it.

Take your acrylic pain and paint everything. Don´t worry about how much paint there is because when you have coverd it all, you take some paper and whipe it off. The harder you pull with the paper the more paint you´r removing. If you want more paint, just do this step again.

This is how your finished work looks like. :) Good job.


Since I´m doing some boxes I need to have a handle on it. I didn´t find any in the right colour so I bought some Inka colour and just used that to get them as I wanted. Simple and easy.
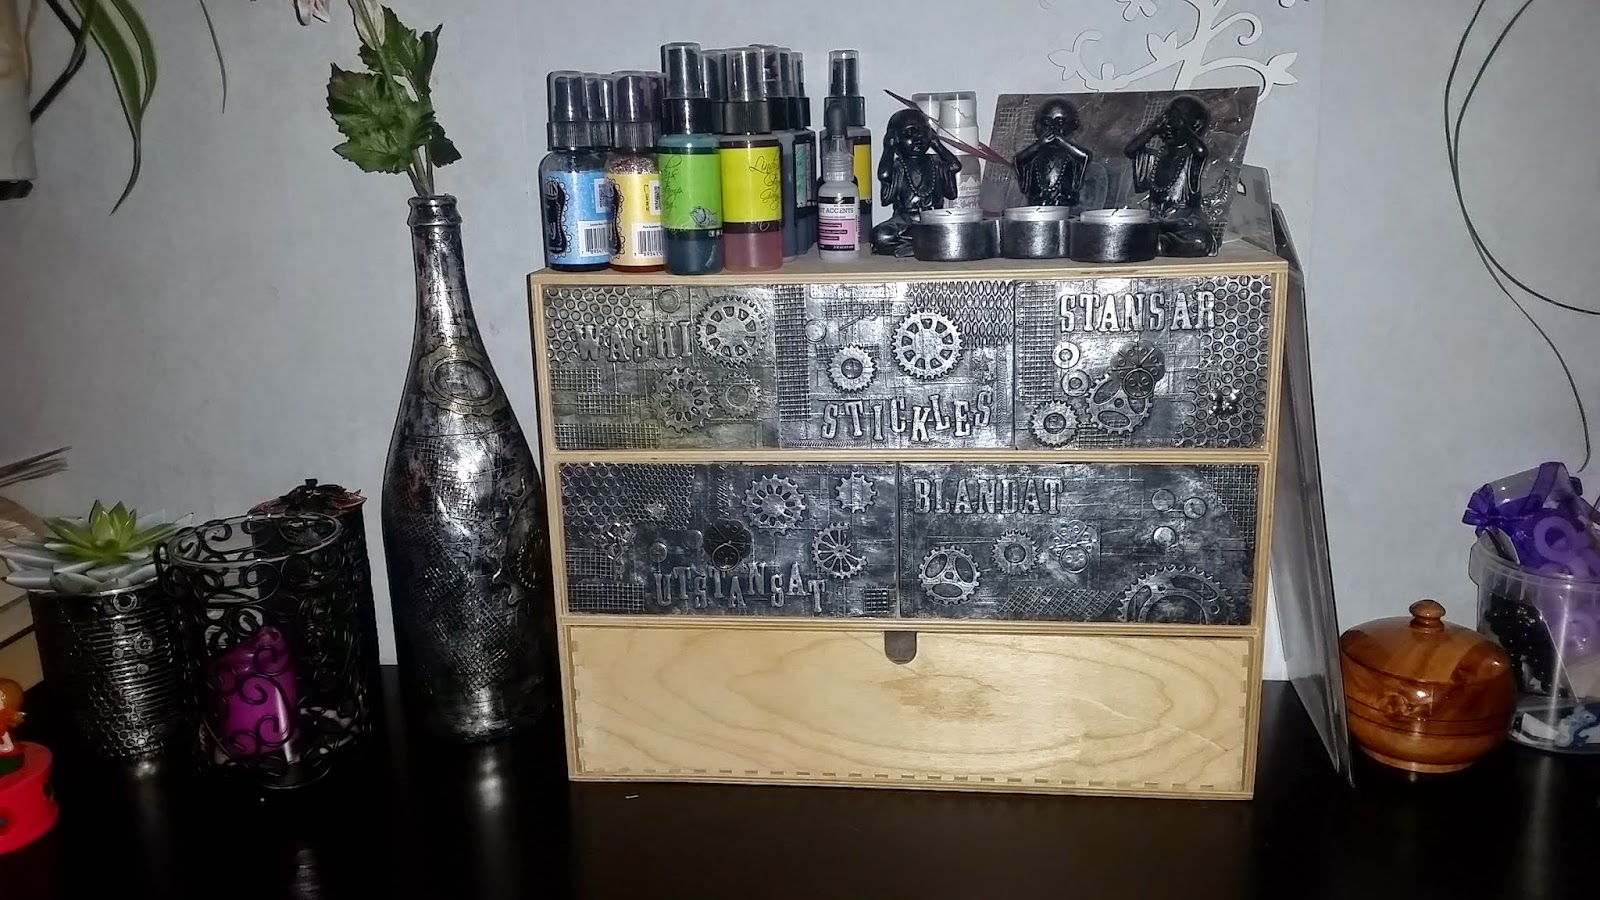
Here are just some pictures of the finished resault and as you can see, now I just have one large pice left and then it´s almost done. All the wood that´s left on it will be black when I´m done.


I hope you got some tips and ideas of how to use this teqnicue and as always, if there is anything you don´t understand or so just send me a mail.
Happy crafting and I would love to see your resaults.
Inga kommentarer:
Skicka en kommentar