torsdag 26 mars 2015


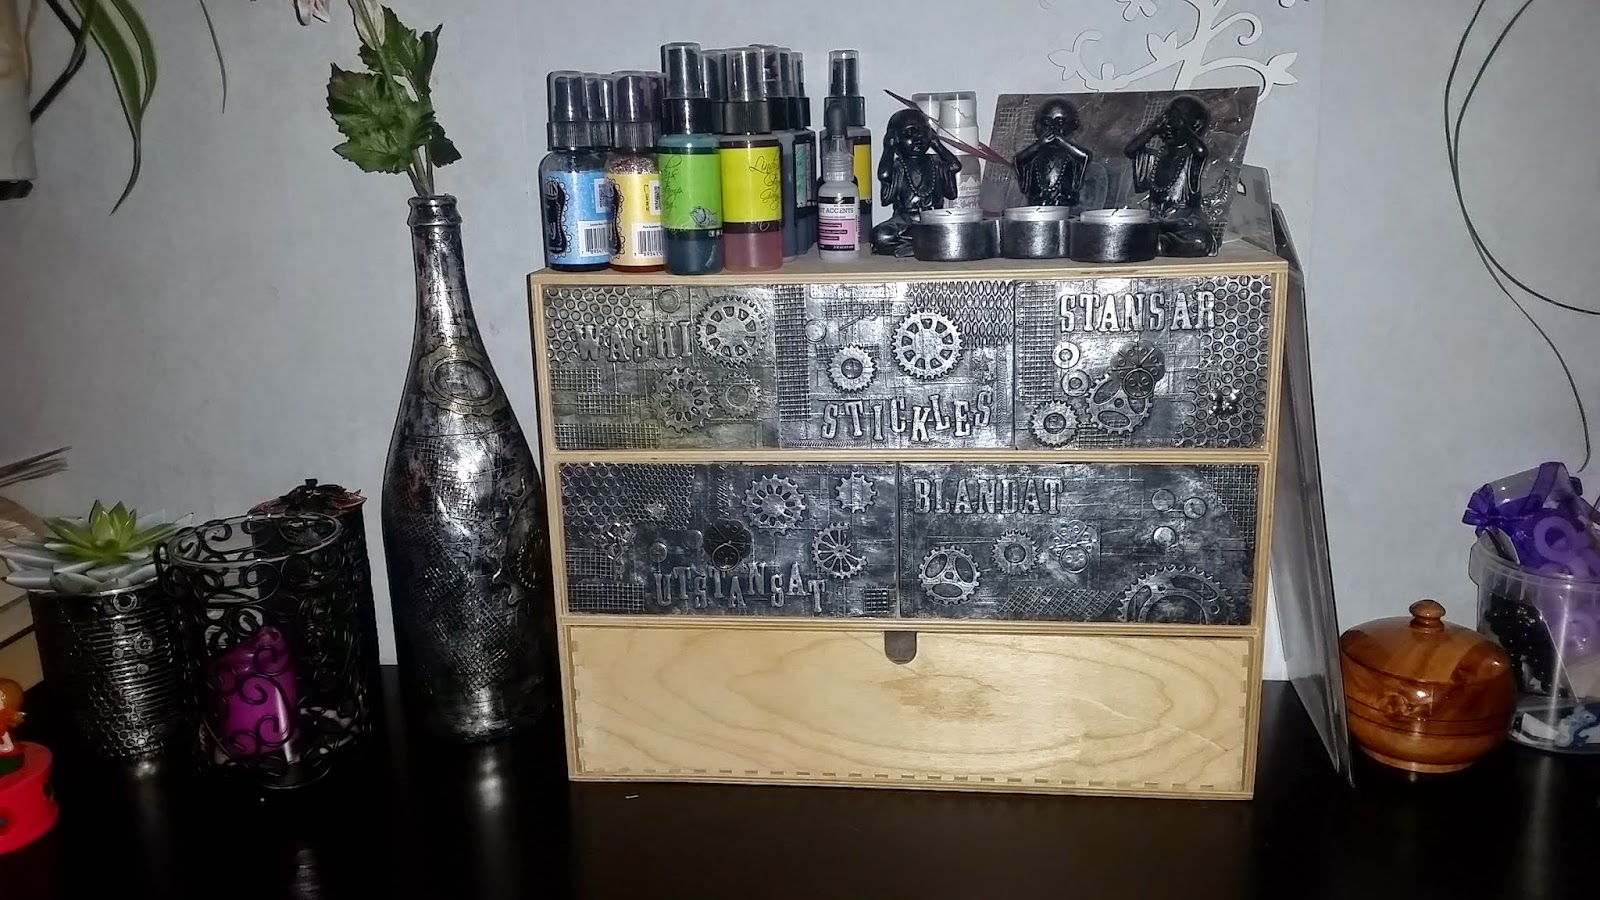
If you have been on my blogg before you have seen that I´m giving my IKEA storage a makeover. Here is another pice that I got done and this time I thought I would show you more exacly how I´m doing it. 
So it´s more pictures and a bit more text to every picture.
As usual, if there is anything you want to know or if it is anything that you that you don´t understand, just send me a message or an e-mail.


This is what I started with. I messured my IKEA box to get the right size of my paper. The alumium tejp I cut into smaller pices because I want them to go a bit over eachother.


When I got all the things I need I´m starting to put them out on my paper and trying to find a layout that I like. I use some glue to make them stick to it after I´m happy with my arrangment.


Now it´s time to start tejping. As you can see I let my tejp pices go over eachother becaue I like the effect they give. Don´t worry about getting tejp outside of your paper because that you can easy cut away after you´r done.


When all of my paper is coverd in tejp I use a siccor to trim the edges. I also make some lines and dots on my tejp. Here I also go arond every edge on my decorations I have under my tejp.


Just some pictures to show you how it looks like after all the tejping and outlining the edges.


When you´r feeling that you´r done you use some steel wool and just go over your work to get it a bit more rough and some texture in it.


Take your acrylic pain and paint everything. Don´t worry about how much paint there is because when you have coverd it all, you take some paper and whipe it off. The harder you pull with the paper the more paint you´r removing. If you want more paint, just do this step again.


This is how your finished work looks like. :) Good job.


Since I´m doing some boxes I need to have a handle on it. I didn´t find any in the right colour so I bought some Inka colour and just used that to get them as I wanted. Simple and easy. 


Here are just some pictures of the finished resault and as you can see, now I just have one large pice left and then it´s almost done. All the wood that´s left on it will be black when I´m done.


I hope you got some tips and ideas of how to use this teqnicue and as always, if there is anything you don´t understand or so just send me a mail.

Happy crafting and I would love to see your resaults. 


måndag 16 mars 2015


The other day I got this idea that I would try to emboss on metalfoil so I made this tag to try it. It turned out really good and it was easy to do the embossning. It just got hot really fast because of the foil but that´s all.

Let me know what you think about it and if you have any ideas let me know and maybe I will try them out. :)


This is the basic material I used for my tag. Just cover the tag with the metaltejp, put in in the folder and run it throuh my CutleBug. After that I took some wire wool ( I hope I got the word right) and made the surface with more texture. Paint it with some black acrylic pain and wipe of until you get it the way you want.


I used a fine detail embossing powder just because it´s the only one I have :)
This is how the tag now looks like after the painting and the embossing. 

Now you can just put what ever you want on your tag. I made a sign using a text from Tim Holtz and some other cogwheels I had. For the cogwheels I did the same with the wire and the paint so they would match up.


For the sign I used a pink inkpad because I wanted some colour and randomly stamped it with a background stamp. I stamped the text over it and for the edges I used a scissors because I don´t have an edge scraper.


I hope you like my tag and if  there is anything you would like to know more of if there is anything you don´t understand, just ask me and I will explain it.

Happy crafting all.


måndag 2 mars 2015


Well, it all started with a comment on my IG acount from @simonsaysstamp saying that they have some new release coming March 6 and I could send my adress for some products to try out. I thought, sure why not. Not that I ever thought I would get anything but I don´t have anything to lose so..
I sended a message to this woman and she replyed and said that she had shiped of a package to me. Interesting I thought. And today I recived it... :) :)
Talk about beeing excited. This is the first time I ever get something to try out from a company  that I absolutly LOVE. I could spend a fortune on their website and not to mention all the inspiration I get from their blogg.

So what I recived was a set of clearstamps and four different ink pads and since I think it´s borring to read to much I will show you some pictures of it insteed.


So this is what I recived and to the left you can see the colours of the ink pads. It is hard to get the exacly colours with my phone but it´s almost as close as it can get. 


The clear stamp words are pretty small and perfect to use for your planner or in your Project Life album.


I made some fast and easy Project Life cards just to show how it can look when you´r using the different clearstamps. 

Please let me know what you think about this set and don´t forget to go and check out Simon Says Stamp for some really nice things.

Happy crafting.